For a long time now, people have asked me how I go about creating my infinite white background product photographs. Well, it isn't straightforward and my technique isn't perfect but it seems to work well enough for most things I shoot so I have decided to try to document my personal workflow for infinite white background product photography.
Set up your environment
I moved house recently and haven't had the chance to get my usual set up out of boxes so I am making do with what I can lay my hands on. For an infinite white shot this means grabbing some white paper to use as the backdrop. Over here in the UK there are many hobby and craft stores that sell good quality A1 sized white paper. For this shoot I am using Artice White paper from Hobbycraft.
Gear up
You don't need lots of fancy expensive equipment to take these kinds of photograph but I find that having at least the same kinds of equipment goes a long way to making life easier for yourself. In my case I am using a few Canon 600 EX-RT speedlites, a Canon ST-E3-RT remote radio trigger, a Sigma 35mm f/1.4 Art lens, a Sigma 50mm f/1.4 Art lens, a Canon 5D Mark 3 body and a Canon 550D body.
 |
| Speedlites, remote triggers and lens |
 |
| Canon 550D |
 |
| Canon 5D Mark 3 |
The choice of camera body is up to you but the more you can afford, the better the experience will be. I will show some shots using the 550D body to demonstrate that you can get good quality images from a consumer type body but I have to say, having a lot less focus points on the 550D meant it was sometimes hard to nail the focus and the speed of getting a shot was a lot faster on my 5D Mark 3.
If you have a fixed lens camera then you should still be able to achieve similar results as I do with an interchangable lens system, the key is lighting which I will discuss later.
Also, you don't need a massively expensive computer to do the photo processing either. My normal Linux machines are still packed away waiting to be unpacked so in the meantime I picked up a cheap ultrabook with a mobile processor and average graphics capabilities which works fine for processing the rather huge RAW files that the 5D gives me.
 |
| Perfectly fine for processing large images |
The first attempt
So when you first try to get a great infinite white background shot, you will probably get your white background sorted out, place your figure on the background and try to get your camera to take a shot that captures the figure in detail as well as leaving the background as white as possible.
This will often mean having to open your aperture up to allow more light to hit the sensor, increasing your ISO to allow for the light to be captured faster, slowing the shutter speed to let more light in whist the shutter is open or a combination of all three of these. This is the exposure triangle and it is how photographers have always been able to control the light in the scene they are capturing.
So, as an example, I tried this myself. I set the ISO to 800 which isn't that high on my camera and still produces quite clean results, I set the shutter speed to 1/20 to capture more light and opened the aperture to f/4.0. This seemed like a good enough compromise to get a relatively good shot. I was using ambient light to light the scene as well as an overhead bulb which is daylight balanced.
Yeah, not so brilliant. I could improve this by increasing my ISO, opening up the aperture a lot more or by having a longer shutter speed which would probably mean using my tripod to avoid camera shake. But that's not how I do things. My way is a little more interesting.
The way I do it
So, this is where the fun begins.
When I do infinite white background shots, I set up the background as I did above, no lightboxes or anything like that. Just a table, lots of white paper and the figure I want to shoot.
I then grab my camera and choose an ISO value that feels good, which for me is usually around 200 to 400. I then choose a shutter speed that will let me capture a sharp image whist holding the camera by hand - no tripods. I normally go for the fastest speed I can use with my speedlites without having to go to high speed sync mode which is around 1/200 or 1/250. Finally I choose an aperature that gives me the creative look I want from the image, a shallow depth of field is sometimes nice but I often swing between shallow, when I want to empasise a certain part of the figure, or deep when I want to try to capture the whole figure in detail.
So with that in mind I take a shot with those values and with my overhead bulb on.
 |
| ISO 400, 1/200, f/4.0, Canon 5D Mark 3 and overhead bulb |
Not great. The overhead bulb is contributing to the ambient light and making the image figure too visible. What I wanted was to barely see the figure. Let's turn that bulb off and try again.
 |
| ISO 400, 1/200, f/4.0, Canon 5D Mark 3 |
Much better, the figure is almost impossible to see due to the ambient light being given no time to affect my shot. It's worth mentioning that I normally start off much darker then this but I am trying to demonstrate the workflow here so wanted you to at least see something.
So with that pesky ambient light out of the way, I can start to light the figure in the way I want it lit with speedlites. Normally I would light the bakground and leave the foreground unlit but for the sake of illustration and time I am placing speedlites where they can both light the background and also provide a rim light on the figure.
 |
| ISO 400, 1/200, f/4.0, Canon 5D Mark 3 |
So here we have just one speedlite to the left and behind the figure being fired at the background and not flagged so that the light will spread onto the back of the figure. I will normally have two lights, one on either side and flagged but this time I wanted to limit the gear used to see how good a shot I could get with as little hardware as possible.
With the background lit, I now need to light the foreground.
 |
| ISO 400, 1/200, f/4.0, Canon 5D Mark 3, two speedlites |
You can see instantly how much of the light hits the figure and also contributes to the background as well. We are getting much closer to the desired effect here. And just to prove that it isn't the 5D doing all the work here, I took the same shot with same set up with the 550D.
 |
| ISO 400, 1/200, f/4.0, Canon 550D, two speedlites |
|
At this point I am happy with the image for now so it's time to process it.
Image processing
I have always used Linux as I write software for a living and find Linux to be the most developer friendly operating system, but with all my Linux machines in boxes I had to resort to a new Windows 10 machine. Luckily most of my favourite open source photo editing software is available on Windows.
It's worth mentioning that if you can, you should always shoot RAW photos. It makes processing them so much easier than using compressed file formats like JPG.
With your nicely lit shot of your figure, it's time to make it even better. I do this using RawTherapee which is an awesome RAW processing tool. It is capable of doing many things and I do recommend ready the manual before trying to use it the first time. For the purposes of this article, I will only show a fraction of my usual workflow.
Firstly open the photo you wish to process. I this case I took another shot with similar settings but from a more dynamic angle which I want to process.
I then select an area of the image I wish to crop.
I then adjust the exposure a little to make sure the background is really as white as I would like it to be.
Following that, I adjust the local contrast to add a bit of punch to the image.
Finally I add a little sharpening.
With all that done, all I need to do to finish the image is pop it into GIMP and increase the image size which will make the white background larger. I also like to move the figure somewhere other than central in the image to try to balance it out.
And that is it. The background/foreground seperation is much easier to achieve with more speedlites and more control over the light but I will leave that for you to try out yourself.
I will leave you with some shots from my Flickr account which were all done using the exact same method described above. Thanks for reading.
 |
| Masterpiece Exhaust |
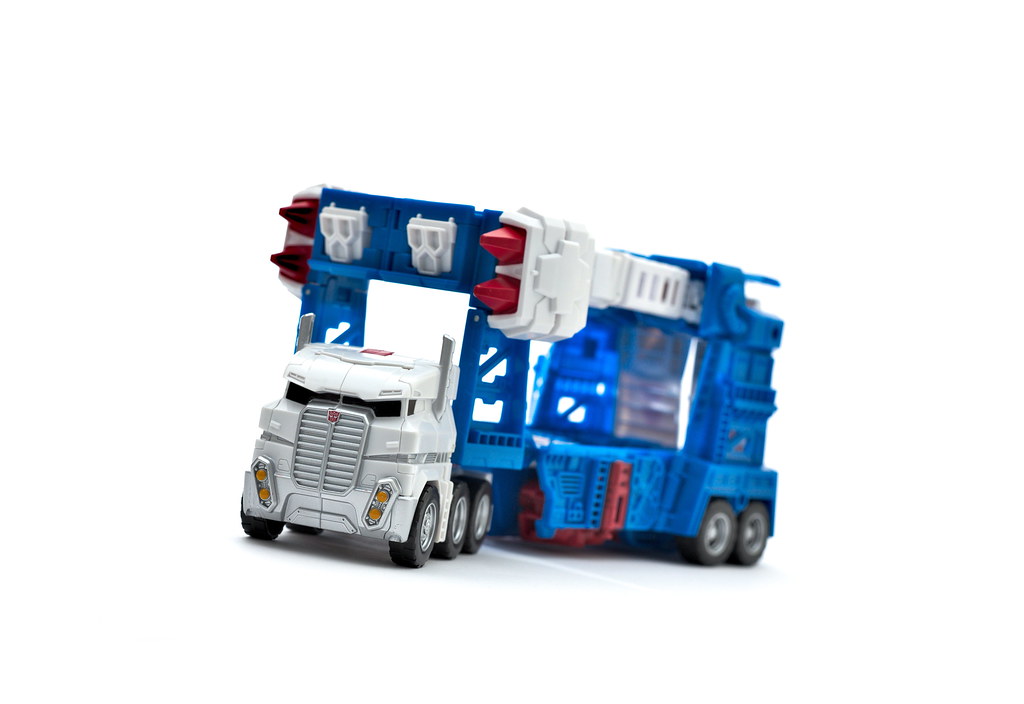 |
| Legends Ultra Magnus |
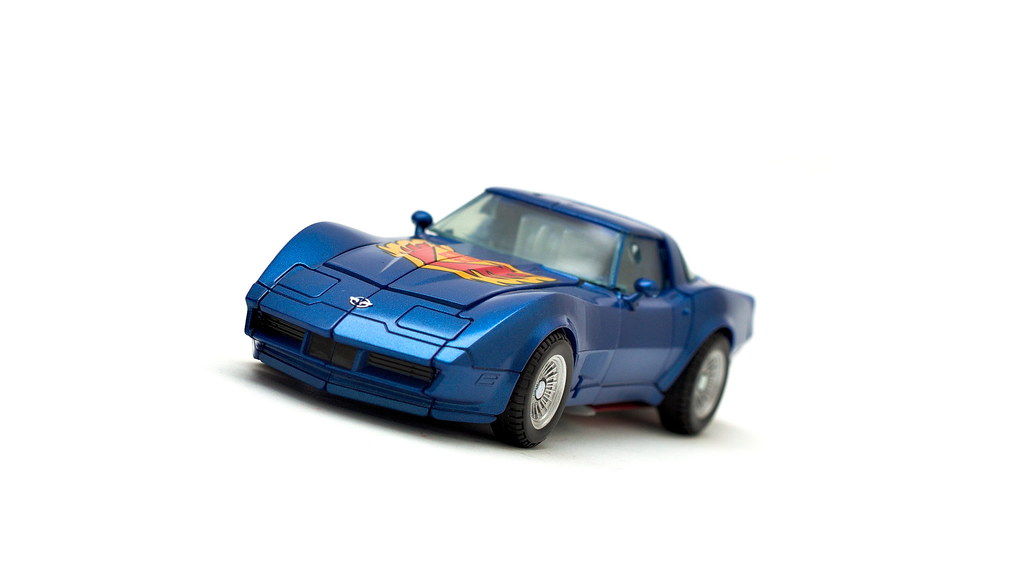 |
| Masterpiece Tracks |
 |
| Masterpiece Optimus Prime |
 |
| Legends Jetfire |


 And that is it. The background/foreground seperation is much easier to achieve with more speedlites and more control over the light but I will leave that for you to try out yourself.


Comments
Post a Comment